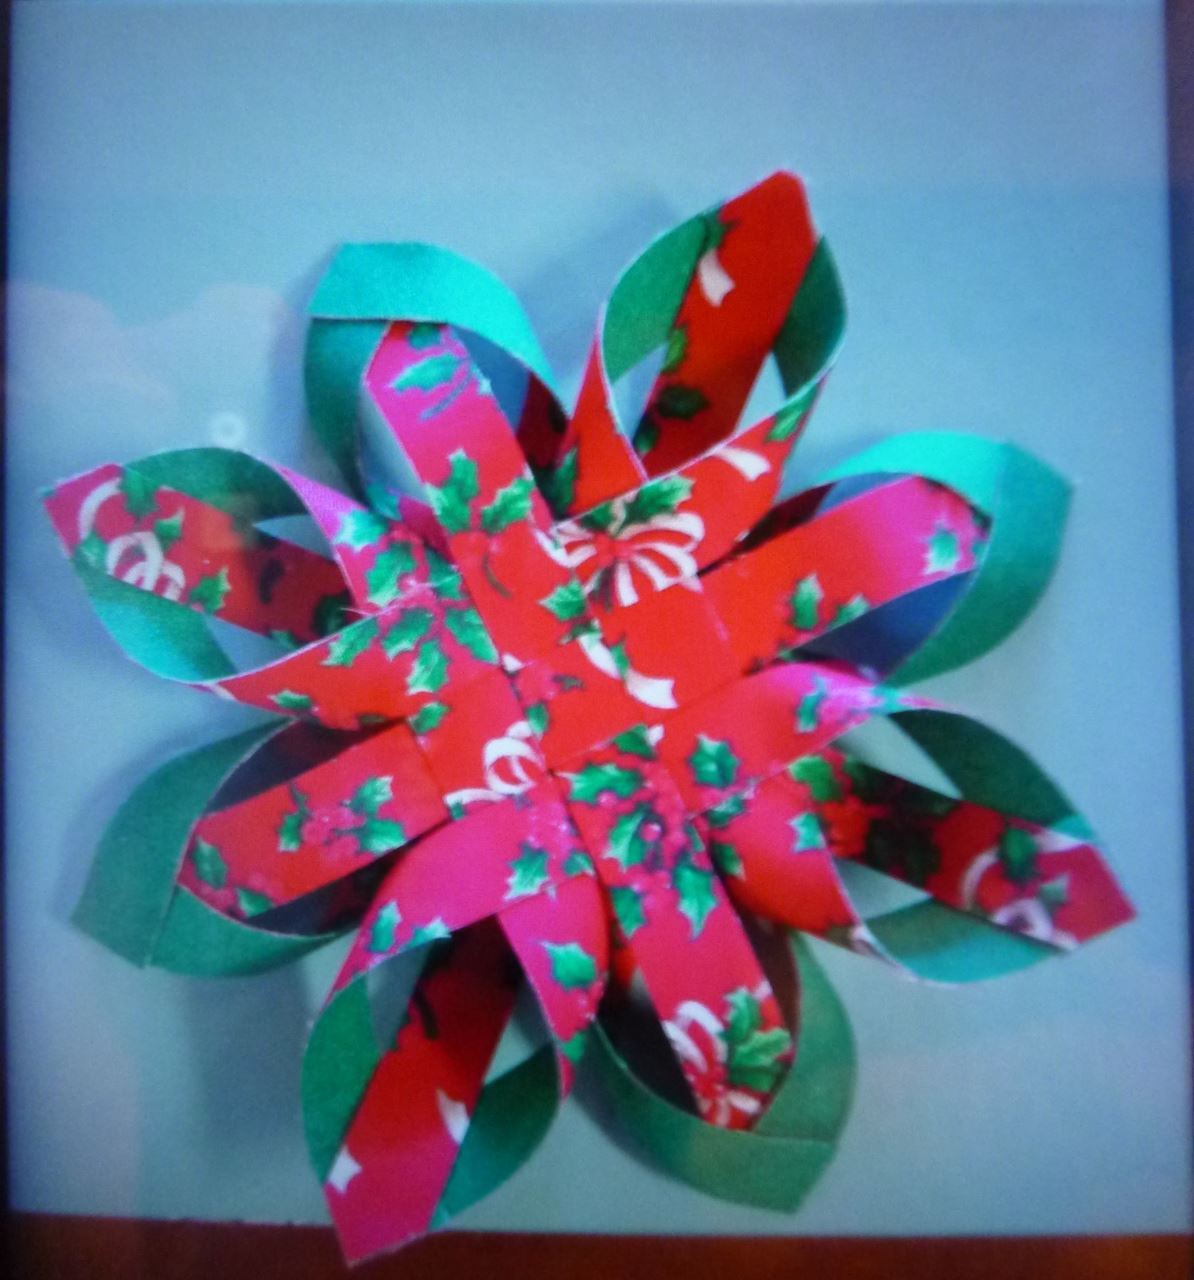
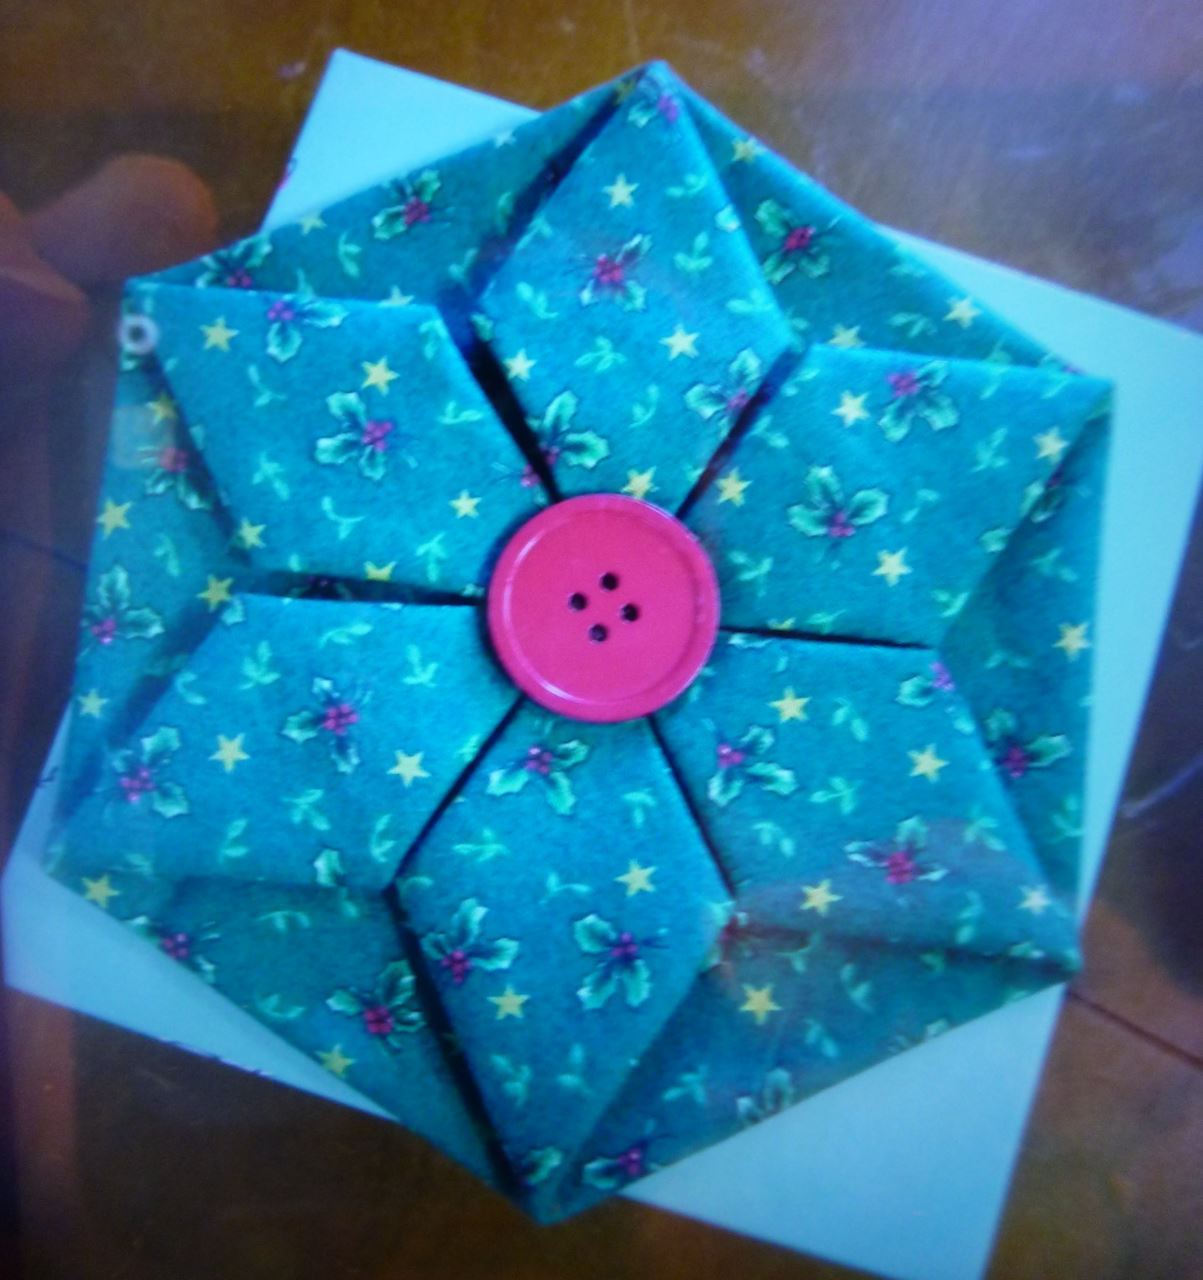
Join us as Member Mary Pavlicin takes us step by step through the process of making these two beautiful holiday ornaments. Once you have made one of each you are sure to want to make more either for yourself or to give as holiday gifts.
 This Scandinavian Star ornament is made using two squares of matching, contrasting or coordinating fabrics which are fused together before being cut, woven and glued.
For the demonstration Mary will be making this ornament using a single piece of construction paper - If you wish to follow along and make one in paper this is all you will need - and of course glue stick and scissors.
To make one in fabric, you will need (2) 6.5" x 6.5" pieces of fabric and (2) 6.5" x 6.5" pieces of fusible web (HeatnBond Ultra is recommended). Fuse the web to the wrong side of each piece of fabric then fuse them together to make one double sided piece of fabric. Cut that down to 6" x 6" square.
If you wish to make a larger ornament, for example to top a Christmas tree) your fused fabric size should be easily cut into six equal width strips - so a finished 9", 12" or 18" square.
For the fabric version a hot-melt glue-gun is used to bring the cut strips together (as you will see in the demonstration). You may also want to use a silicone mat to protect your work surface.
 This Folded Origami ornament is made using one piece of fabric that is folded and stitched by hand.
Mary will make this ornament using a 12" x 12" square of fabric from which she will cut a hexagon
If you wish to prepare your fabric beforehand you will need a 12" x 12" square of fabric from which you will then cut a hexagon. To do this either use a hexagon template or follow this YouTube video - https://www.youtube.com/watch?v=m7-7DBF-CEY. If you want your ornament to be quite stiff you can iron fusible web to the back before cutting your hexagon.
To make a smaller hexagon ornament, simply cut your hexagon to twice the size of your desired finished ornament.
You will need a pen to mark fold points, a sharp needle with matching thread, a decorative button for the front of the ornament and a flat button for the back (optional - to hid any visible stitching).
Time to pull out those left-over holiday fabrics and get ready to make something jolly for the holidays.